
Power
Off-Grid Backup Power: Sizing a System for a Month, Not a Weekend

By Ephraim Rusk · · 13 min read
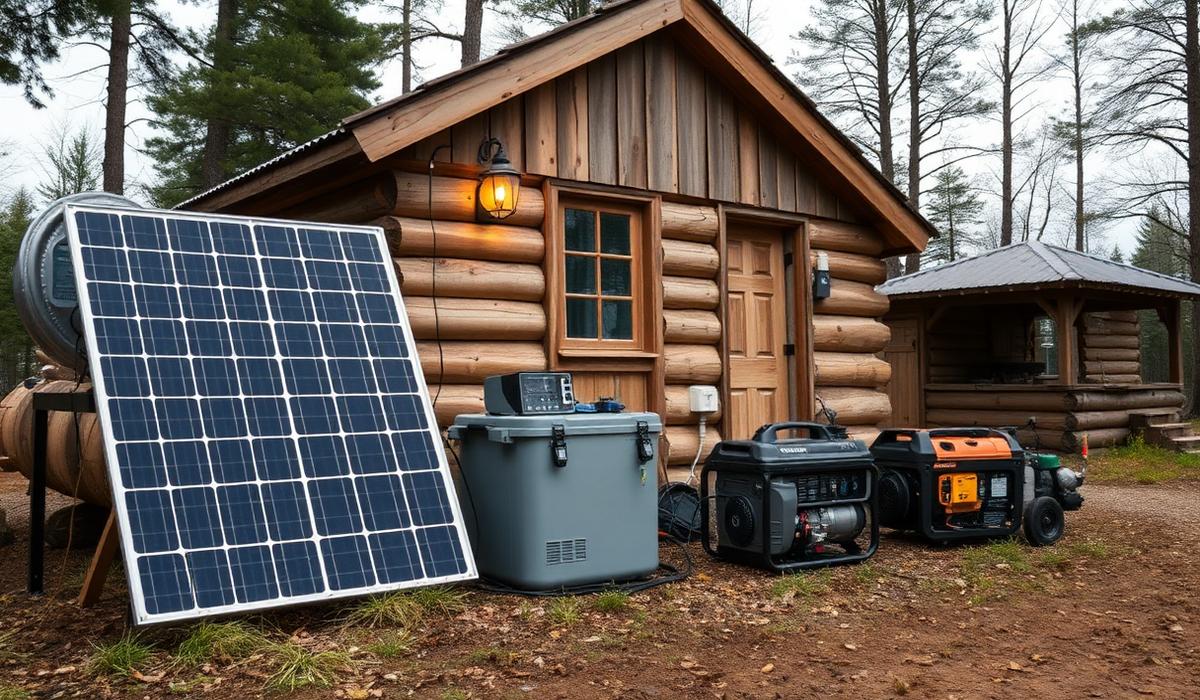
Quick answer
Layer backup power by measuring your real daily load, sizing a LiFePO4 battery bank for 2–3 days of it, sizing solar for your worst season, and keeping a generator only for short, heavy tasks — never for continuous background power.
Most backup power plans are built for a weekend: a generator, two jerry cans, and an assumption that the utility trucks arrive by Monday. Extended outages after hurricanes, ice storms and grid failures routinely run one to three weeks, and fuel is the first thing to disappear.
The fix is layering. Cut the load, store energy, generate energy, and keep a fuel-burning tool for heavy short tasks. Here is how to size each layer with arithmetic rather than optimism.
Step 1: measure your real load
Before buying anything, list what genuinely must run and for how long. A plug-in energy meter costs very little and turns guesswork into watt-hours. Multiply each device's draw by the hours per day you need it.
A typical essentials-only household lands between 1 and 3 kWh per day — an order of magnitude below normal consumption, and completely achievable off-grid.
- Modern fridge: 1,000–1,500 Wh/day (compressor cycles, not continuous)
- LED lighting, whole house: 100–200 Wh/day
- Phones, radio, laptop: 100–300 Wh/day
- CPAP or medical device: 200–600 Wh/night — confirm from its label
- Well pump: 500–2,000 Wh/day, with a large starting surge
Step 2: size the battery bank
Batteries, not panels, are what carry you through the night and through bad weather. Size for two to three days of essential load so a cloudy stretch does not end the plan.
LiFePO4 (lithium iron phosphate) is the practical default: 3,000 to 6,000 cycles, usable to about 90% depth of discharge, stable chemistry, and no maintenance. Lead-acid is cheaper up front, tolerates only about 50% discharge, and lasts a few hundred cycles — which is why it usually costs more per usable kilowatt-hour over its life.
Worked example: 2 kWh/day of essentials × 2 days of autonomy = 4 kWh usable. In LiFePO4 at 90% usable depth that is roughly a 4.4 kWh bank — about 350 Ah at 12 V, or 170 Ah at 24 V. Higher voltage means thinner cables and lower losses; choose 24 V or 48 V for anything above about 2 kWh.
Step 3: size the solar array
Panels are rated at laboratory conditions. Real output is the rating multiplied by your location's peak sun hours multiplied by system losses of roughly 25% for wiring, heat, controller efficiency and dust.
Size for a bad day rather than an average one. If you need 2 kWh/day and expect 3 peak sun hours in winter: 2,000 Wh ÷ 3 h ÷ 0.75 ≈ 900 W of panels. Round up. Panels are now the cheapest component in the stack and extra capacity buys you cloudy-day resilience.
Use an MPPT charge controller rather than PWM — it recovers 20–30% more energy in cold or low light — and keep a spare controller stored disconnected. Mount panels where you can clear snow and adjust the tilt seasonally.
Step 4: keep a generator for heavy work
A generator is the wrong tool for continuous background power and the right tool for short, heavy tasks: refilling a battery bank after four grey days, running a well pump, powering tools during repairs.
Inverter generators run quieter, burn far less fuel at partial load, and produce clean power safe for electronics. Dual-fuel models let you burn propane, which stores indefinitely — unlike petrol, which degrades in three to six months even with stabiliser.
Generator safety is not optional
Carbon monoxide from portable generators kills roughly 85 people a year in the United States, according to the Consumer Product Safety Commission, and injures thousands more. The gas is odourless and the symptoms — headache, nausea, confusion — are easy to mistake for stress or fatigue.
Run a generator outdoors only, at least 20 feet from the house, with the exhaust pointed away from doors, windows and vents. Never operate one in a garage, shed, porch or crawlspace, even with the door open. Install battery-powered CO alarms on every sleeping level and test them before storm season.
Never backfeed a generator into a wall outlet. It energises the utility line and can kill line workers. Use a transfer switch or interlock kit installed by a licensed electrician, or run appliances on heavy-gauge outdoor extension cords.
Cut the load before you buy watts
Every watt you remove is a watt you never have to generate, store, wire or maintain — and it is always the cheapest part of the system.
Swap every bulb you would use in an outage for LED. Consider a small chest freezer, which draws far less than an upright fridge and holds cold for a day unopened. Keep a battery-powered fan for heat and layered bedding and insulated window coverings for cold; heating and cooling by electricity is the fastest way to drain any realistic bank.
A staged build most households can afford
Stage one, under a few hundred: LED lights, headlamps, a 200–300 Wh portable power station, a hand-crank NOAA weather radio, and CO alarms.
Stage two: a 1–2 kWh LiFePO4 station with 200–400 W of folding panels, enough for lights, comms and device charging indefinitely.
Stage three: a 4–5 kWh bank, 900–1,200 W of fixed panels, an MPPT controller, and an inverter generator with propane storage — the point at which the fridge keeps running and week four looks like week one. For the next step, read DIY Off-Grid Power Systems for Beginners: What You Actually Need Before You Build.
Sources
- CPSC — Portable Generator Safety
- CDC — Carbon Monoxide Poisoning After a Disaster
- Ready.gov — Power Outages
General preparedness information, not medical or legal advice. Follow instructions from your local emergency authority during an active event.
Field notes by email
Get the next guide before you need it
One email when a new field guide drops — water, food, power, medicine. No spam, no daily noise, unsubscribe in one click.
Comments on this guide
Questions, corrections and field reports from your own setup are welcome.
No comments yet. Be the first to add a field report.