
Skills
How to Build a Family Emergency Preparedness Plan from Scratch (90-Day Roadmap)

By Ephraim Rusk · · 11 min read
This article contains an affiliate link. If you buy through it, we may earn a commission at no extra cost to you.
Quick answer
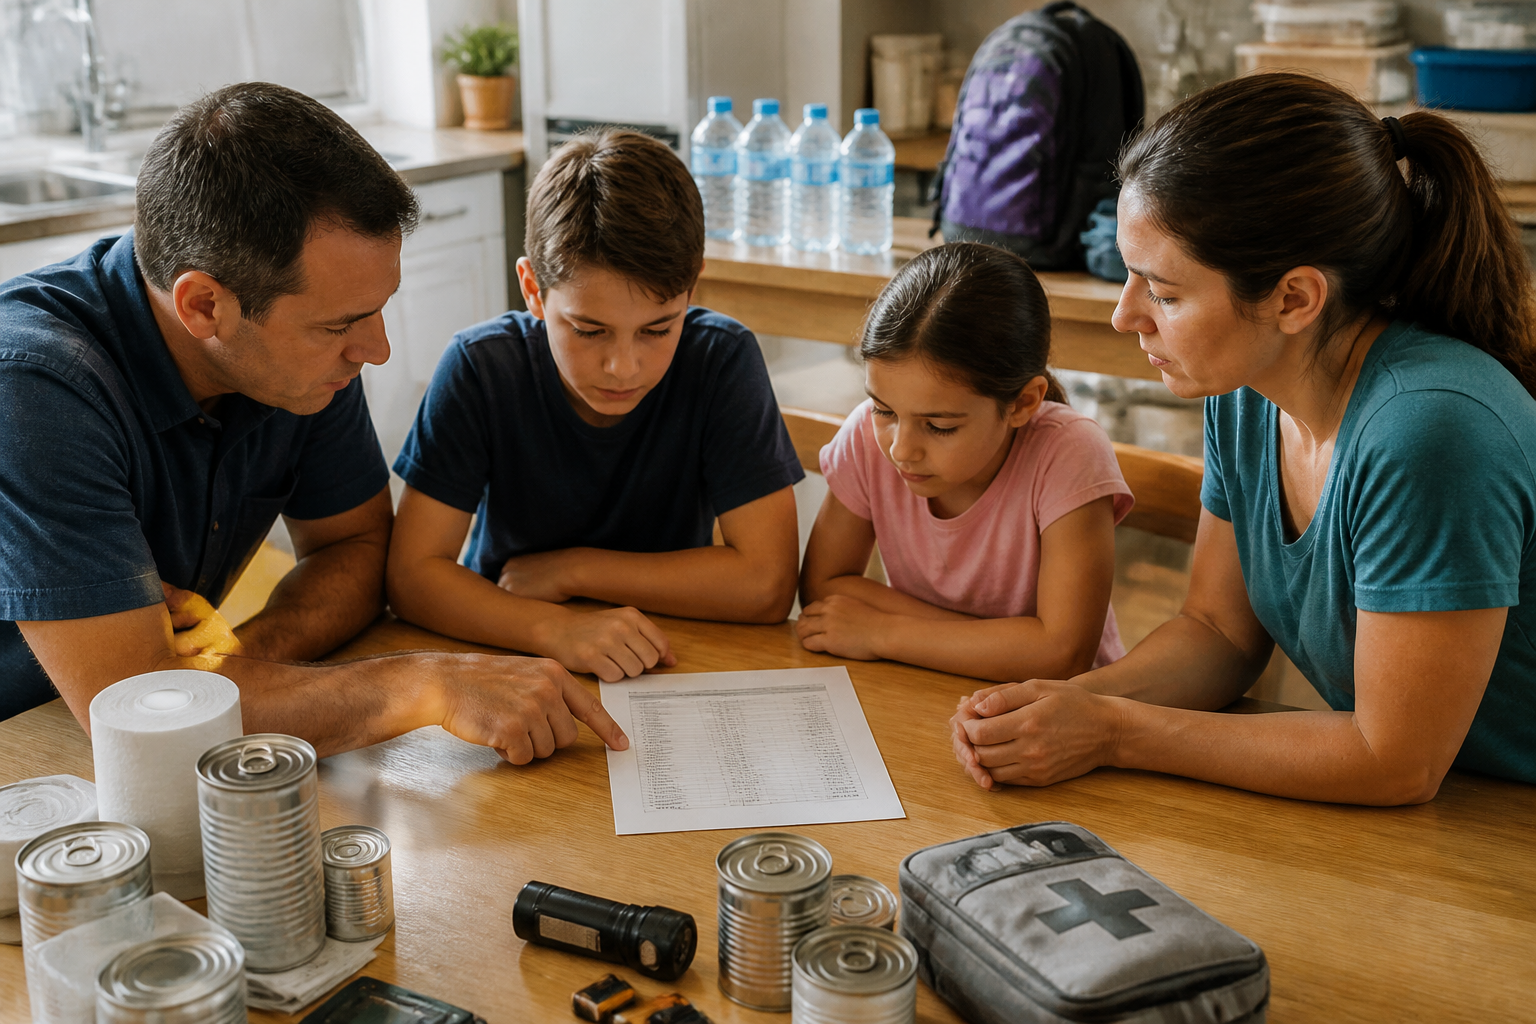
Build a family emergency preparedness plan by tackling one area per month over 90 days: water storage and communications in month one, food and medical prep in month two, home security and evacuation planning in month three. Breaking it into weekly checklists is the single most reliable way to actually finish the plan rather than abandoning it after week one.
Building a family emergency preparedness plan from scratch is one of those tasks that feels manageable until you open a browser tab and find seventeen conflicting opinions and a gear list that costs four thousand dollars. Most households quit before they store a single gallon of water. The problem is not motivation — it is that preparedness advice is almost always presented as an all-or-nothing project rather than a sequence of small, completable steps.
A realistic emergency preparedness plan for a family does not require you to rewire your life in a weekend. What it does require is a deliberate order of operations: figure out your household's specific risks first, then work through water, food, communications, medical, and security one layer at a time over roughly ninety days. That timeline is long enough to do the work properly and short enough that you maintain momentum.
This article gives you that sequence — what to do, roughly when to do it, and why the order matters. If you have been meaning to get your family prepared but keep stalling, this is the practical starting point.
Step One: Assess Your Household's Actual Risk Before Buying Anything
The first step in any family emergency plan is identifying the specific emergencies most likely to affect your location and household — because the right plan for a household in coastal Florida looks nothing like the right plan for one in the rural Mountain West.
FEMA's risk framework groups hazards into natural (hurricanes, earthquakes, tornadoes, flooding, winter storms, wildfires), technological (power grid failure, hazardous material spills), and human-caused events. Your local emergency management agency publishes a Hazard Mitigation Plan that names the statistically most likely threats in your county — it is a free document and it takes about twenty minutes to read the executive summary. That summary should drive your priorities, not a generic internet checklist.
Beyond location, assess your household's specific vulnerabilities: how many people, their ages and medical needs, pets, anyone who cannot self-evacuate, and whether you rent or own (renters have different options for structural modifications). Write this down. A single sheet of paper with your household profile and your top three local hazards is the foundation every other decision rests on.
One common mistake is skipping this step and going straight to gear. People end up with a three-month freeze-dried food supply and no stored water, or a comprehensive first-aid kit and no plan for where the family reunites if a disaster hits during a school day. Risk assessment first — purchases second.
Month One, Weeks 1-2: Water Storage Is the Non-Negotiable Starting Point
Water is the first priority in any emergency preparedness plan because dehydration becomes life-threatening within days, and municipal water supply is frequently the first utility disrupted in a disaster.
The CDC and FEMA both recommend storing at least one gallon of water per person per day, with a minimum two-week supply as the practical household target. For a family of four, that is 56 gallons — more if you live in a hot climate or have infants, elderly members, or anyone with a medical condition that increases fluid needs. Do not forget pets: a medium-sized dog needs roughly half a gallon per day.
Food-grade water storage containers (55-gallon drums, stackable 5-gallon jugs, or WaterBOB bathtub bladders for short-notice storage) are widely available and relatively inexpensive. Tap water stored in properly sanitized, sealed containers is safe for up to six months before it should be rotated or treated again. The CDC provides specific guidance on container sanitization and rotation schedules that is worth bookmarking.
Weeks one and two should accomplish exactly this: calculate your household's requirement, source your containers, fill them, label them with the fill date, and identify at least one backup water source (nearby stream, rain catchment, neighbor's well) along with a means of purification — boiling, filtration, or chemical treatment.
Month One, Weeks 3-4: Build Your Family Communication Plan
A family communication plan answers one question before a disaster happens: how does everyone in your household know where to go and how to reach each other when normal communication is disrupted?
Cell networks commonly fail or become overloaded during regional emergencies. Your plan needs to function without them. The core components are: a designated out-of-area contact (it is often easier to reach someone out of state than across town during a local disaster), two physical meeting points per family member (one near home, one further away in case the neighborhood is inaccessible), and written contact information for every family member — written, because phones run out of battery and people forget numbers they have never dialed manually.
Every school-age child should carry a laminated wallet card with the family's out-of-area contact number, both meeting points, and any relevant medical information. This takes about thirty minutes to produce and is one of the highest-return preparedness actions a family can take.
Also consider communication tools that do not rely on cell infrastructure: a battery-powered or hand-crank NOAA Weather Radio covers official emergency alerts; FRS/GMRS two-way radios give families short-range communication without cell towers. Neither is expensive. The Ready.gov family communications guide walks through each component with printable templates.
Month Two: Food, Medical Prep, and the 72-Hour Kit
Month two covers the two areas most people think of first but often execute poorly: food storage and medical preparedness. Doing water and communications first means you now have a stable foundation to build on.
For food, the guiding principle is store what you eat. A pantry rotation system — buying extra of shelf-stable foods your household already consumes and rotating the oldest to the front — is more practical and less wasteful than purchasing specialty freeze-dried meals. FEMA recommends a two-week minimum supply of non-perishable food. Focus on caloric density, nutritional balance, and foods that require minimal preparation (important if utilities are disrupted). Do not forget a manual can opener.
Medical preparedness at the household level means three things: an expanded first-aid kit beyond the basic adhesive-bandage box (including supplies for wound irrigation, splinting, burns, and allergic reactions), a written record of every household member's medications and dosages, and at minimum a basic first-aid certification. The American Red Cross offers both in-person and online first-aid and CPR courses. If anyone in your household depends on prescription medication, work with your physician now — not during a crisis — to build a small emergency supply.
The 72-hour kit (also called a bug-out bag or go-bag) should be assembled during month two: a portable bag per person, or one family bag, containing three days of water, food, first aid, copies of critical documents, cash in small bills, a phone charger, medications, and weather-appropriate clothing. The goal is a bag you can grab in two minutes if you need to leave the house immediately. Keep it near your exit, not in the attic.
Month Three: Home Security, Evacuation Routes, and Closing the Gaps
By month three, your family has water, food, communication protocols, and a go-bag. Month three is about hardening your home, finalizing evacuation plans, and doing a full review to close any gaps specific to your household's risk profile.
Home security in an emergency preparedness context is not primarily about defending against other people — it is about making your home safer during and after a disaster. That means knowing how and when to shut off your gas, water, and electrical mains (and having the tools to do it), reinforcing exterior doors if you live in a high-wind or civil-unrest risk area, and having working smoke and carbon monoxide detectors on every level. The U.S. Fire Administration recommends testing detectors monthly and replacing batteries annually at minimum.
Evacuation planning means identifying at least two exit routes from your neighborhood (not just from your house), knowing the locations of your local emergency shelters, and having a plan for where your family goes if you cannot return home. If you have pets, verify in advance which shelters accept animals — many do not, and discovering that during an evacuation is not the time to find out.
The final action of month three is a tabletop drill: sit down with every household member and walk through a scenario relevant to your top hazard. Ask out loud — what do we do if this happens at 2 a.m.? What if it happens when the kids are at school? What if one of us is traveling? Every gap that surfaces during a calm dinner-table conversation is a gap you do not have to discover under real stress.
Our Recommendation: Survival Manual
The biggest risk in a 90-day preparedness plan is losing momentum around week three — when the initial motivation fades and you are staring at a half-finished checklist with no clear next action. Without a structured system to follow, most families plateau at partial readiness: they have some supplies but no tested communication plan, or a go-bag that has never been opened since it was packed.
The gap in the DIY approach is not information — there is plenty of free information online. The gap is structure, sequence, and accountability. Pulling together water guidance from one site, communication templates from another, and medical checklists from a third takes hours of research and leaves you with no coherent order of operations. Most people abandon it before they reach month two.
The Survival Manual is a $47 digital ebook and Android app (marked down from $197) built around a 90-day emergency preparedness plan that covers exactly the sequence described in this article: water storage, planning, communications, medical prep, and home security — with checklists, video tutorials, and offline access so it works when you need it most, not just when you have Wi-Fi. It is designed for families building general-purpose readiness rather than one specialized skill. If you go through it and decide it is not right for your household, there is a 60-day money-back guarantee. If you have been putting off getting your family properly prepared, this is a concrete way to stop planning to plan and actually finish the job.
Our recommendation
Survival Manual
Check availability →This article contains an affiliate link. If you buy through it, we may earn a commission at no extra cost to you.
Frequently asked questions
How long does it take to make a family emergency preparedness plan?
A complete, functional family emergency preparedness plan can be built in 90 days working in focused weekly sessions of one to two hours. The 90-day timeline allows you to source supplies gradually without a large upfront cost spike and gives each area — water, food, communications, medical, security — enough attention to be done properly rather than checked off and forgotten.
What should be in a family emergency preparedness checklist?
A complete checklist covers six areas: water storage (one gallon per person per day for at least two weeks), food supply (two weeks of shelf-stable food your household eats), a written communication plan with out-of-area contacts and meeting points, a first-aid kit and medication records, a 72-hour go-bag per person, and home safety basics including utility shutoffs and working detectors. Document copies and small-denomination cash belong in both your go-bag and a fireproof home location.
What is the first thing to do when starting emergency preparedness?
The first action is a household risk assessment: identify the two or three most likely emergencies in your specific location using your county's Hazard Mitigation Plan, then list your household's specific vulnerabilities (medical needs, mobility, pets, number of people). This takes about an hour and prevents you from spending money on the wrong priorities.
How much water should a family store for emergencies?
FEMA and the CDC both recommend at least one gallon of water per person per day. A family of four needs a minimum of 56 gallons for a two-week supply. Add roughly half a gallon per day per medium-sized dog or cat. Store water in food-grade sealed containers, label them with the fill date, and rotate or re-treat every six months.
Does a family emergency plan need to include communication with out-of-area contacts?
Yes — an out-of-area contact is one of the most important elements of a family communication plan. During a localized disaster, it is often easier to reach someone in another state than to reach a neighbor two streets away because local cell networks become overloaded. Every family member should have this contact's number memorized or written on a physical card they carry.
Related guides
Sources
- FEMA: Build a Kit — Water
- CDC: Emergency Water Storage and Supply
- Ready.gov: Make a Plan — Family Communications
- U.S. Fire Administration: Smoke Alarms
General preparedness information, not medical or legal advice. Follow instructions from your local emergency authority during an active event.
Field notes by email
Get the next guide before you need it
One email when a new field guide drops — water, food, power, medicine. No spam, no daily noise, unsubscribe in one click.
Comments on this guide
Questions, corrections and field reports from your own setup are welcome.
No comments yet. Be the first to add a field report.